Deeper understanding
Technology used
The ball detection sensor of Lymb One utilizes special infrared cameras to detect the presence of a ball. This is done through a process called background subtraction, where a stationary background image is compared to the current image. By subtracting the known background image from the current image, any differences indicate the presence of a moving object, in this case, a ball. If there is a noticeable difference, it means that a ball has been detected at that particular location.
The camera used to detect the ball takes into account the perspective of the image. This means that a ball that is farther away from the sensor will appear smaller compared to a ball that is closer. To ensure accurate detection, certain thresholds and margins are set to filter out noise and ensure reliable detection. However, it is possible that balls that are farther away may not be detected if they disappear within the noise cancellation.
background stability
Ensuring a strong contrast between the balls and the background is crucial for achieving accurate detection results in the important areas at the bottom of the playing field and the more distant positions.
It's important to note that the cameras have a total field of view of 150° underneath the device. This means that the areas closer to the sides also play a role in maintaining a stable background. While there will be future software updates to improve this, currently, the first 5 to 6 meters radius from the device are crucial for stable ball detection. For instance, if there is a side door next to the playing field that opens and closes during usage of the device, or if people pass through or move the door during game play, it can disrupt the ball detection until the new background image is restored. During this time, there may be false triggers in the system that are temporarily blocked out. Extra attention should be given to this aspect during the calibration process. A message will soon be displayed to communicate this situation, and it will disappear once the background becomes stable again.
The background image is continually refreshed whenever there is no movement in the image for a certain period. It is worth mentioning that the background image is not directly stored during the calibration process as a reference for future use.
Calibration 
During the calibration process, which involves touching the red dots on the screen twice, we use the ball that will be used for playing to adjust certain aspects of the system's environment and setup. This calibration is necessary to ensure the accuracy of ball impacts shown on the screen and is essential for using the system effectively. It's important to note that you cannot exit the calibration game until it is completed. To achieve optimal results, please ensure the following:
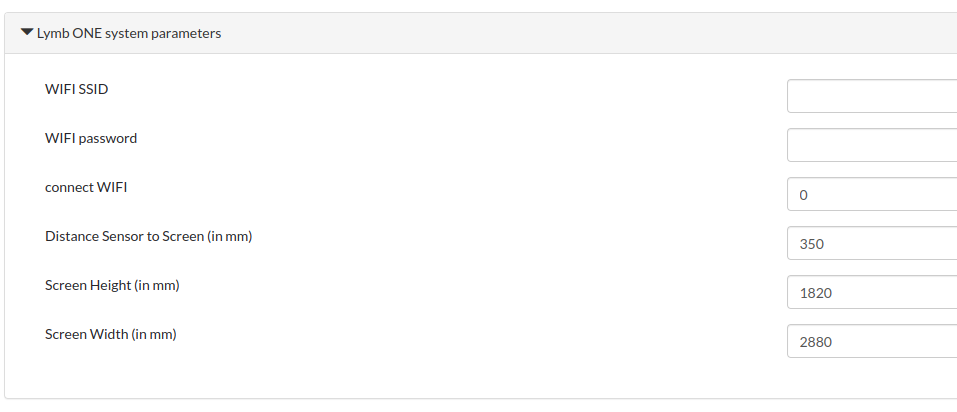
- The measures of the setup are entered correctly in the system's page in lymb-admin.net (section Lymb One system parameters):
- the floor and the wall are in the condition where they are later on during normal usage
- the background is stable (nothing in the background recently changed the last 30 seconds)
- you use the ball you want to use for game play (different ball sizes and color will need another calibration cycle with that ball to be accurate)
- the system has been powered up and been running for several minutes already (directly after power up some values are adjusted automatically and therefore this first time is not recommended for calibration
How to improve detection (Troubleshooting)
If you did not before please read the "deeper understanding" section of this document. It enables you to get the reason behind the following points:
- make sure the first 30 cm of floor underneath the device and the wall within the first 5 - 6 meters in the 150° FoV below the device are static and not moving or otherwise subject to change physically.
- your projection needs to have a certain distance from the floor below and possible side walls. A recommended distance of 20 - 30 cm should work well for ball sizes of 21 cm or more
- your projection should have at least that much distance from the device that the upper corners of the projection are within the 150° FoV. A minimum of 30 cm should not be undergone to ensure detection in the upper area still, close to the device. Recommended are 40 cm minimum distance from the upper projection edge to the middle camera looking downwards
- use a ball that gives bright reflection in the IR spectrum. These are usually white balls but also other colors do well. Ideally the surfaces are coated. Softballs work better when coated.
- if the floor is wooden or very bright it does reflect very well IR. Therefore the contrast to the ball will get less and eventually more distance to the floor is needed and bigger ball sizes are needed, too. Most relevant is this in the very center underneath the device and if you had side walls net to the playing field in an 45° angle from the vertical center axis. It might be an option to cover these areas with some dark material which does not reflect that much.
- The bigger your playing field on the wall is, the more critical are the lower areas as the ball will appear small in the camera image. In these situations bigger ball sizes of 21 cm or more will work best (as a rule of thumb: The center distance from the central sensor to the bottom edge of the projection is 2 meters and more). Also extra care needs to be taken to the distances to bottom and side walls, as well as floor contrast (ideally dark and not wooden)
As a reference for good detection we can recommend this BALL, which we also use for internal testings.